How To Install WordPress Locally On A Windows Computer

I have spoke many times about the benefits of having a test WordPress website in order to test plugins and try out changes to your WordPress theme.
My test WordPress website is installed in a subdirectory of a domain I own. This is the most practical solution for me as I use a 27″ iMac, and a 12.5″ Windows laptop, to work online. I switch between both of them frequently, therefore it is better for my test website to be hosted online.
An alternative to hosting your test environment online is to install WordPress locally on your computer. Doing this also allows you to modify your installation and learn more about WordPress; even if you are offline.
In this article, I would like to walk you through how you can install WordPress locally on a computer that runs on Microsoft Windows using an application called WAMP.
How to Install WAMP on Your Windows Computer
Wamp Server is a development environment that allows you to manage use PHP and MySQL databases on your Windows computer. The script is frequently referred by its abbreviated name WAMP, or Wamp.
WAMP can be downloaded from the official WAMP website. 32 bit and 64 bit versions are available. Be sure to download the correct version for your system.
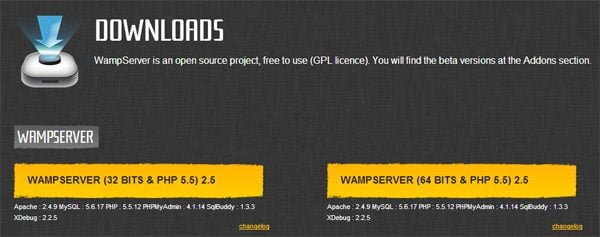
WAMP is available in 32 bit and 64 bit versions.
Once you have clicked on the WAMP exe file, the installation process will begin. The process is straightforward.
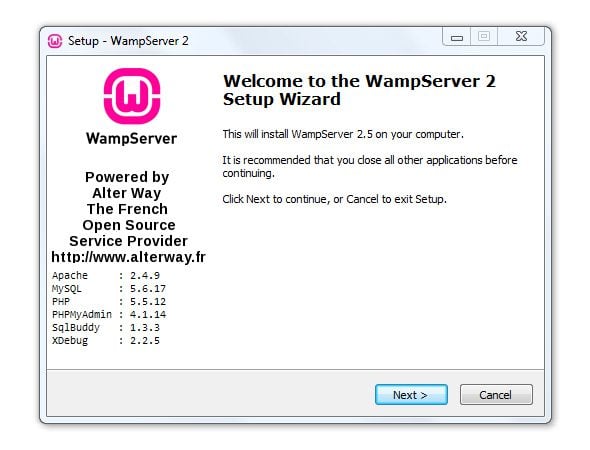
Installing WAMP only takes a minute.
Just like WordPress, WAMP is released under the GNU General Public License.
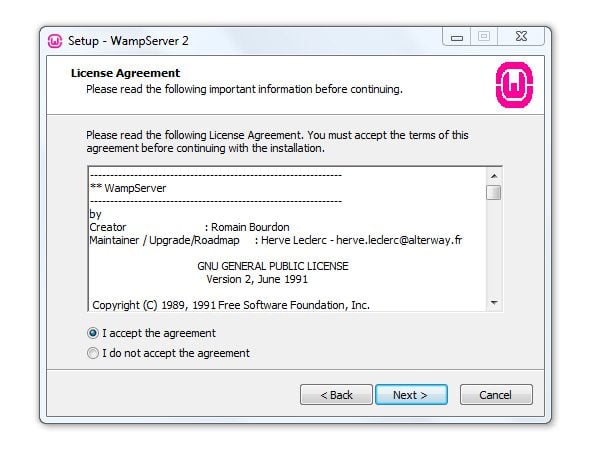
You need to agree to the terms of the GNU General Public License.
By default, WAMP will install to C:\wamp\. However, you can modify the directory name and location. Approximately, 450MB of storage is required to install WAMP.
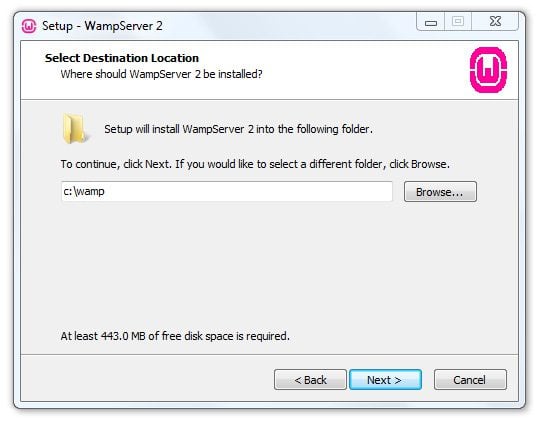
Choose the installation directory of WAMP.
Shortcuts to WAMP can be added to your desktop and to your quick launch menu.
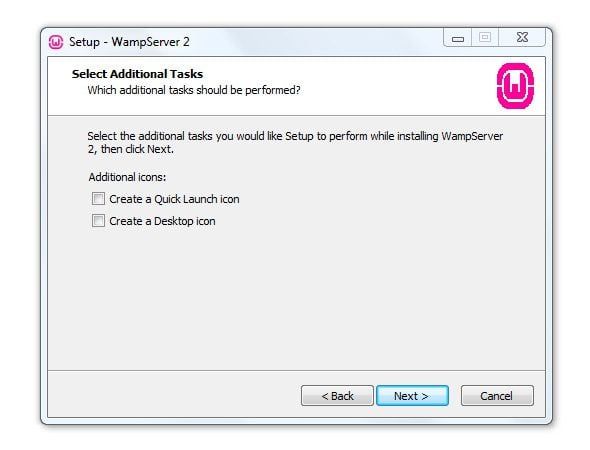
Add shortcuts to WAMP.
WAMP gives you a chance to backtrack and change settings before you click the “Install” button.
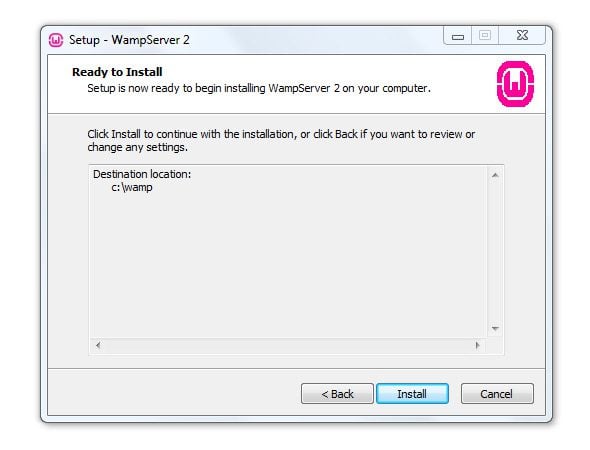
Click the install button to start extracting files to your computer.
The installation script will then start extracting files to the installation directory you specified previously.
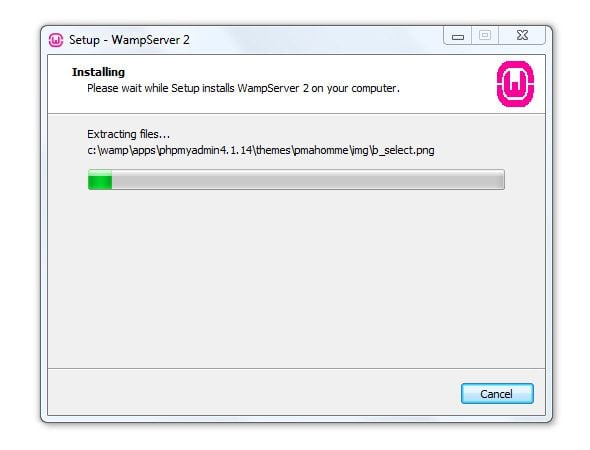
WAMP does not take long to extract all files to your computer.
In the next screen, WAMP asks you to choose your default browser. You need to navigate to the directory for the browser you use and then select the appropriate exe file.
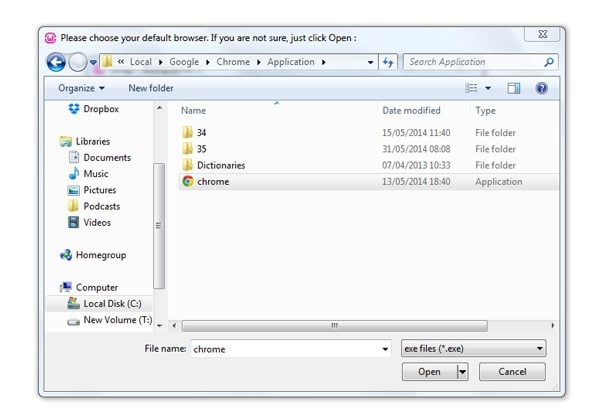
Select your default browser to ensure that WAMP opens up pages in the browser your normally use.
The mail parameters for PHP are defined in the next screen. I suggest leaving the default settings intact unless you need to send out mail through your local installation.
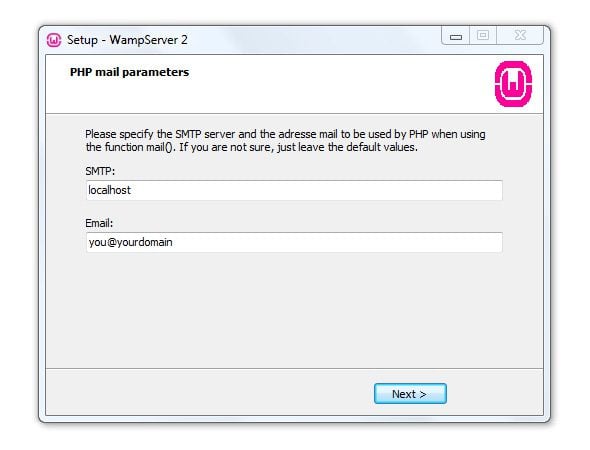
I recommend using the default PHP mail parameters.
That is all there is to it. WAMP will now be installed on your computer.
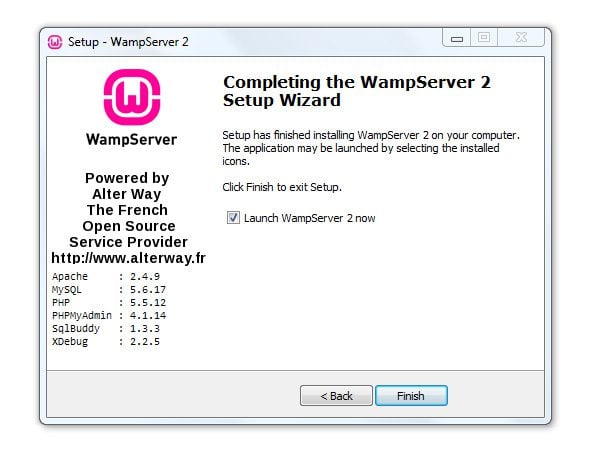
Congratulations – you just installed WAMP!
Starting WAMP
If you click on the “Launch WampServer” option at the end of the installation process, WAMP will be running. If not, you can open WAMP by clicking on the shortcut to WAMP via your Windows start menu.
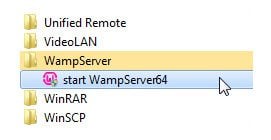
You can open WAMP via your start menu.
When WAMP is running, it will be displayed as an icon in your taskbar. A red W icon means that the WAMP server is not running. An orange W icon means that the server is running, but Apache is not configured correctly. A green W icon signifies that the server is online and you can access your server by entering 127.0.0.1, or localhost, into your browser.
Right clicking on the W icon will bring up an option to change to one of 24 languages that are available.
Right clicking the WAMP icon allows you to change the default language.
Left clicking on the W icon brings up the main menu of WAMP. From here, you can start, stop, and restart all services. You can also manage Apache, PHP, and MySQL. There are links to localhost, phpMyAdmin, and your www directory, too.
Left clicking the WAMP icon brings up the main menu of WAMP.
You will notice that the WAMP icon on my computer is orange in the above screenshots. It took me a while to figure out why the server was not working correctly on my computer. I found out that it was because the default port that WAMP uses was being used by something else.
You can verify whether this is occurring on your computer by left clicking on the WAMP icon. Then navigate to Apache, Service, and select “Test Port 80″.
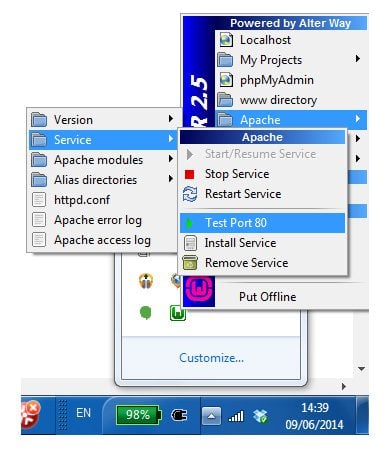
Select “Test Port 80″ via Apache, Service.
This brings up a command prompt that states whether port 80 is being used by something else. In my case, it was being used by microsoft-IIS/7.5. This refers to Internet Information Services (IIS) for Windows Server.
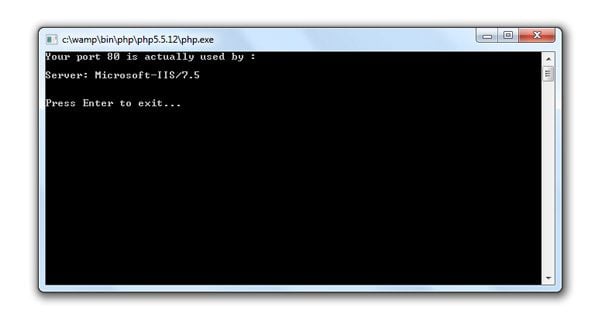
The command prompt states what is using port 80.
Apparently, you can resolve this issue by disabling or removing the application that is using port 80. A quicker solution, and from what seems to be a more practical solution, is to simply change the port that WAMP uses. To do this, you need to edit the httpd.conf file.
On my computer, I found this located in this directory -> C:\wamp\bin\apache\apache2.4.9\conf.
Open the httpd.conf file in a text editor and do a search for Listen 0.0.0.0:80. The two digits at the end refers to the port. The code will look like something like this:
#Listen 12.34.56.78:80 |
Listen 0.0.0.0:80 |
Listen [::0]:80 |
All you have to do is change the port number in the last two lines from 80. In my installation, I used 88; though you can use pretty much any number you wish.
The listen section in the WAMP httpd.conf file on my computer now looks like this:
#Listen 12.34.56.78:80 |
Listen 0.0.0.0:88 |
Listen [::0]:88 |
Once you have made the changes to httpd.conf, save the file and then select the “Restart All Services” option at the bottom of the WAMP menu. After restarting WAMP services, the WAMP icon should change from orange to green.
Your WAMP server should now be working correctly.
The only problem I faced installing WAMP was with port 80 being used. If you are struggling to resolve the same issue, or if you experience a different problem during installation, I recommend the WampServer forums. There are over 16,000 discussion threads in the forum, therefore you should find an answer to any issues you face.
The other problem that I saw mentioned frequently was that of Skype using port 80. Apparently, this issue can be resolved by opening Skype, selecting Tools and then options. Then go to the advanced section and click on Connection. You will find an option there to disable Skype from using port 80.
Note: I did not have to disable Skype from using port 80 as I changed the port that was being used.
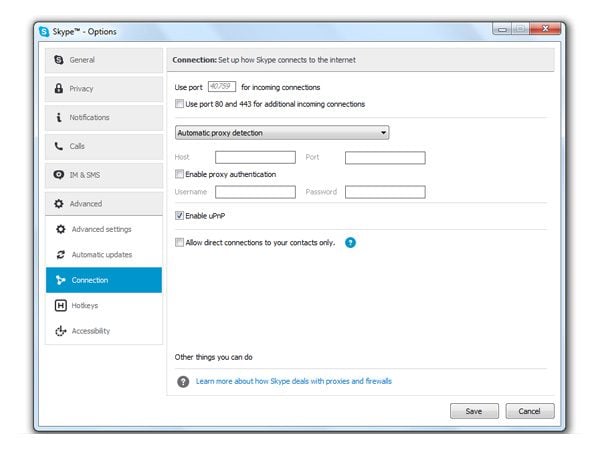
You can stop Skype from using port 80 via the Skype options area.
With WAMP now functioning correctly, you can now access the WAMP information page at http://localhost:XX/. XX refers to the port you defined in the httpd.conf file. Therefore, I can view the information page for my website by entering http://localhost:88/ into my browser.
If you are able to use WAMP with port 80, you should be able to view the WAMP information page directly using http://localhost.
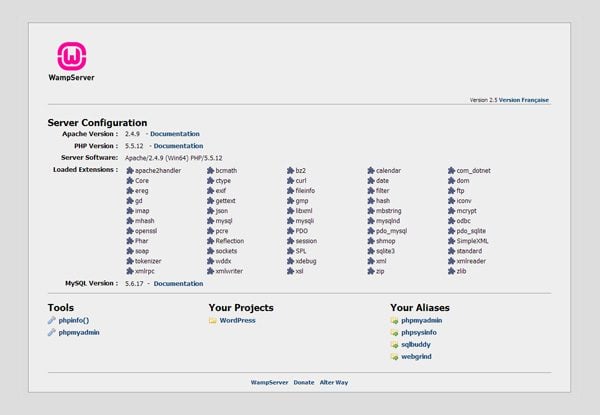
The WAMP information page details information about your server configuration, tools, projects, and aliases.
You can also visit your information page by using the IP address 127.0.0.1 instead of localhost. For example, http://127.0.0.1 or http://127.0.0.1:88/.
How to Create a Database for Your Local WordPress Installation
In your WAMP information page, you will see a link to phpMyAdmin. Clicking on the link will open up phpMyAdmin and allow you to manage your databases. Alternatively, you can visit phpMyAdmin directly by entering http://localhost:XX/phpmyadmin/ into your browser.
Again, XX refers to the port your WAMP installation uses. For me, the direct link to phpMyAdmin was http://localhost:88/phpmyadmin/. If you are using port 80, the URL for phpMyAdmin should be http://localhost/phpmyadmin/.

phpMyAdmin allows you to create and manage all of your MySQL databases.
At the top of phpMyAdmin, you will see a tab named “Databases”. If you click on that tab, you will see an option to create a new database. You can call your new database whatever you like.

Creating a new database takes seconds.
You will receive confirmation that your database has been created. You will also see it listed in the database tree in the column at the left hand side of the page.

Confirmation of your new database being created.
You may have noticed that we have not created a database user and password. We don’t actually have to complete this step as we can use root for our database username and leave the password field blank.
It is also worth noting that your database name is not case sensitive. Therefore, in the example above, when I install WordPress, I could enter WordPress-Test, or wordpress-test, as the database name.
Extracting Your WordPress Files
Once you have created your database, you should download WordPress to your computer. Extract the WordPress folder to the www directory within your WAMP installation directory i.e. C:\wamp\www\.
You can rename the WordPress folder anything you like. For example, you could rename the folder test, blog, or my-website. It is really up to you. When I tested WAMP, I simply kept the folder name as WordPress. If you are installing many WordPress installations locally on your computer, I recommend naming each folder something self-explanatory so that you can easily reference them later.

Place your WordPress folder in the www directory.
Installing WordPress Using WAMP
With WordPress copied to our www directory and a database created for our website using phpMyAdmin, we can now install WordPress. As the WordPress installation folder is named WordPress, the WordPress website will be located at http://localhost:XX/wordpress/. For my installation, the URL is http://localhost:88/wordpress/. If you were to use port 80, you could access it directly at http://localhost/wordpress/.
When you load up your website at the address noted above, you will see a message stating that there is not a wp-config.php file.
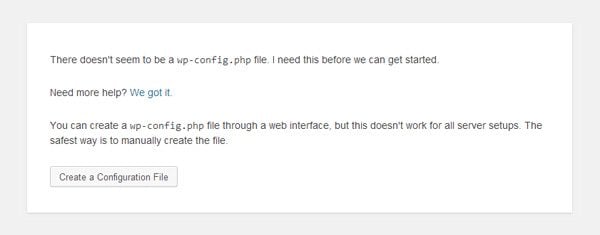
WordPress advises you to create a configuration file.
From here on in, the steps are exactly the same as any other WordPress installation. You may recall from my Complete Guide To Installing WordPress article that there are two ways of creating the wp-config.php configuration file. You can either rename wp-config-sample.php to wp-config.php and enter your database information (this is detailed in step 3a of my guide). Alternatively, you can create the wp-config.php through the WordPress installer (this is detailed in step 3b of my guide).
It does not matter which method you use, as they will both create a wp-config.php configuration file that will connect your WordPress core files to your WordPress database.
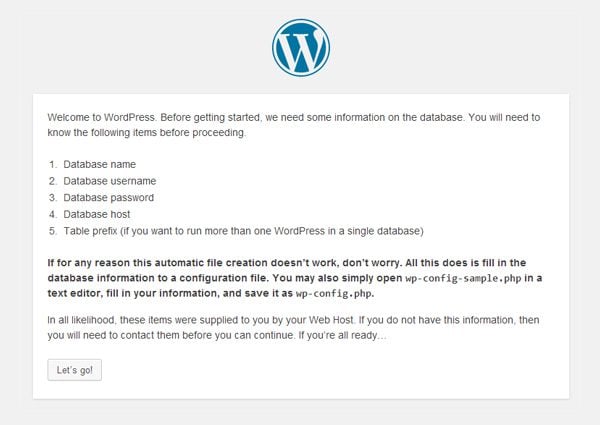
WordPress reminds you to have your database information ready for creating the wp-config.php file.
Creating the wp-config.php file through the installer is easy. The installer also verifies that your connection details are entered correctly.
There are five fields to complete. The database name is the name of the database you created through phpMyAdmin earlier. If you recall, I named my database WordPress-Test (I can also enter this in lowercase). You should enter root as your database username and leave the password field blank.
Leave the database host field as localhost. The last field is the prefix you want to add to your WordPress database tables. The default value is wp_. From a security point of view, it is normally better to change this value to make it more difficult for hackers to access your website. However, as your website will only be accessible locally on your computer, I do not believe there is a high risk of this occurring; therefore, I do not think there is any harm with keeping wp_ as the database table prefix.
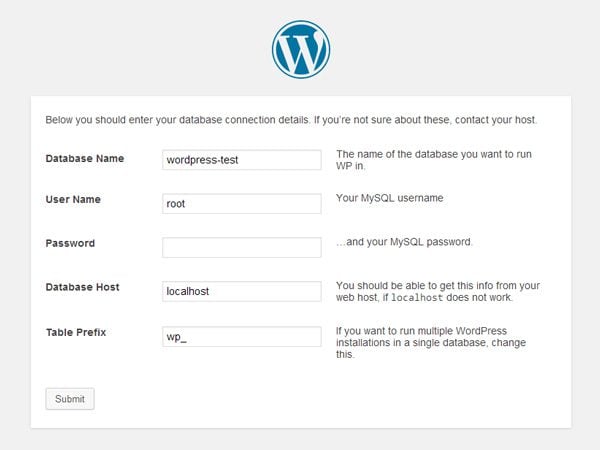
Enter your WordPress database connection details
If your connection details were correct, you will then see a page advising you to run the WordPress installer. At this point, your WordPress installation directory will have a wp-config.php configuration file with the correct connection details.
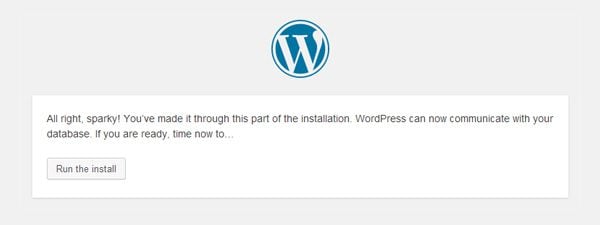
You will see this page if your connection details were correct.
Once the wp-config.php configuration file has been created, you can install WordPress. You have to enter website details such as the site title, your administrator username and password, and your email address.
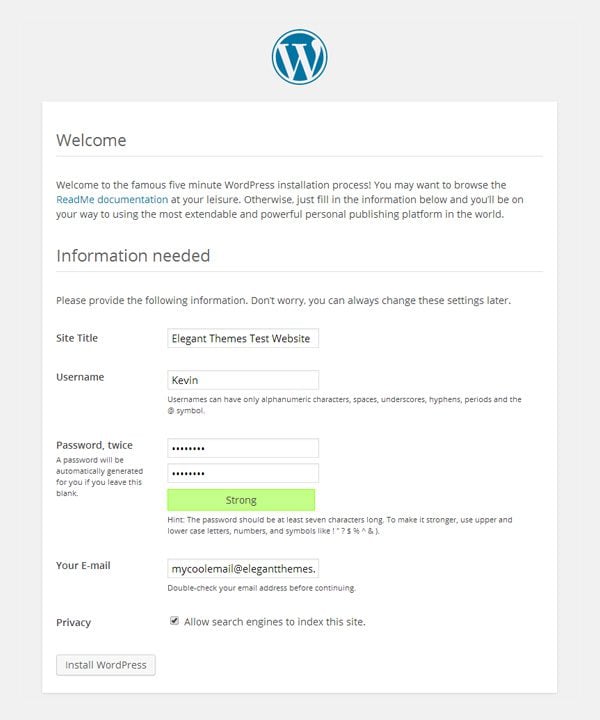
The installation process for WordPress is short and sweet.
The next page confirms that WordPress has been installed and displays a button to log in to your newly created website.
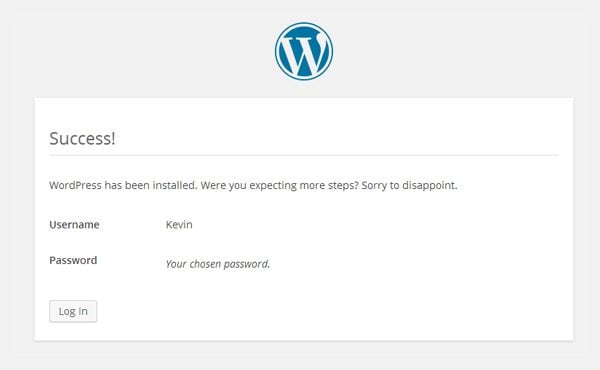
WordPress has now been installed.
Next, log in to your new website using the username and password you just defined.
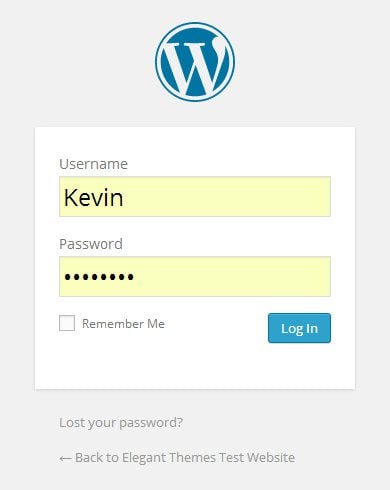
Login to WordPress using your username and password.
Your local WordPress website looks and works just like it would if it was hosted online.
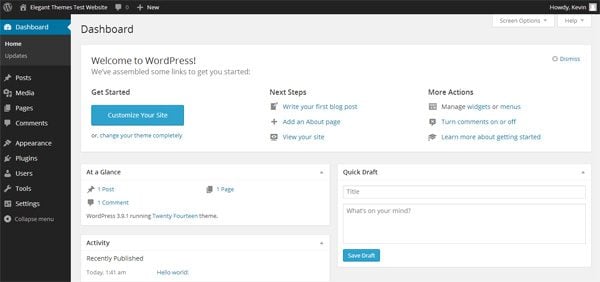
The WordPress dashboard is displayed when you log in.
If you ever move the your local WordPress website to a new directory, or if you rename the WordPress installation folder, you will need to change the website address via the general settings page.
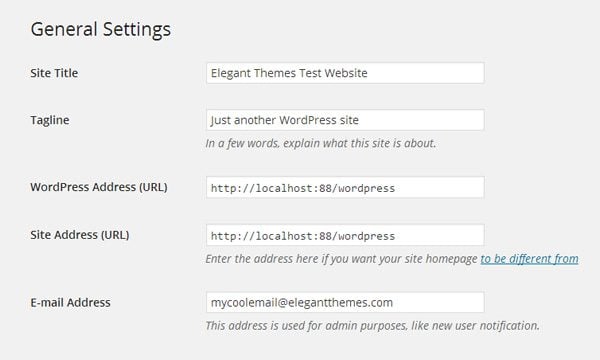
You can change the location of your website via the “General Settings” page.
Another thing you may want to change is your website permalink settings. As you know, this can be done via the permalink page in the settings area.
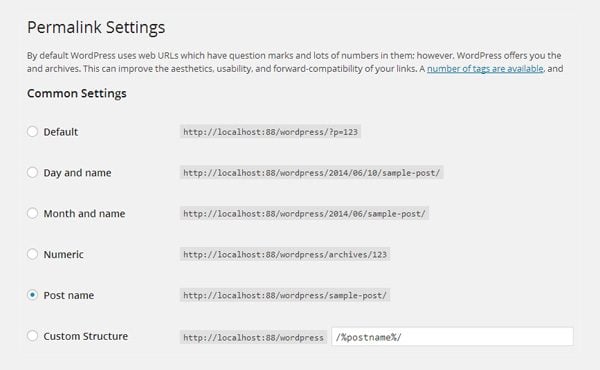
You can change your permalink structure in the settings area.
Your should see a message stating that your new permalink structure has been saved. Unfortunately, your permalinks will not work correctly after activating them.
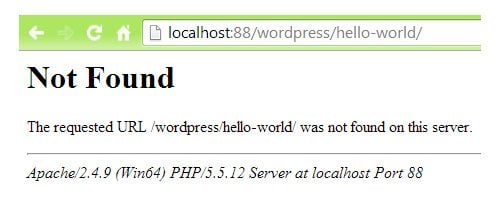
Your permalink settings may not work correctly right away.
In order for a user friendly permalink structure to work correctly, you need to enable the Apache rewrite module. You can do this by clicking on the WAMP icon and bringing up the main WAMP menu. Then select Apache, Apache modules, and then enable rewrite_module.
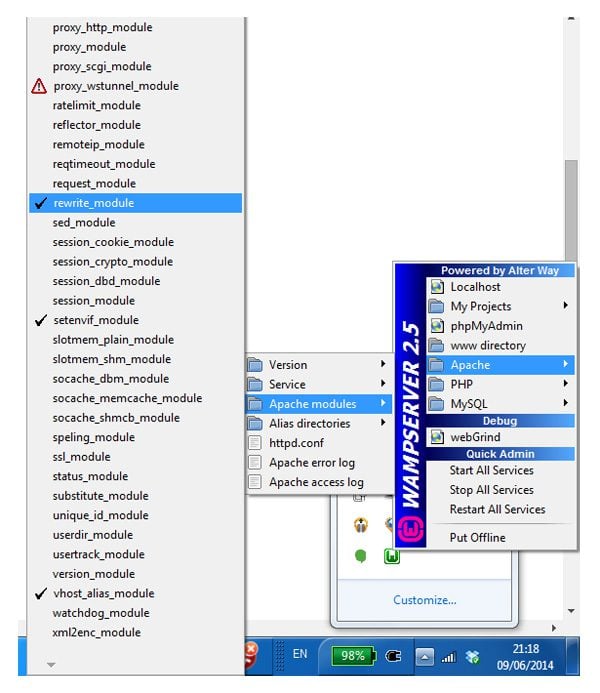
You need to enable the WAMP rewrite module in order for permalinks to work correctly.
Once you have enabled the WAMP rewrite module, your permalinks will work correctly.

Your permalinks will now work correctly.
That is all there is to it. You now have a fully functional WordPress website on your Windows computer 
Alternatives to WAMP
WAMP is known as an AMP solution stack. W stands for Windows and AMP stands for Apache MySQL PHP. This is how WAMP gets its name.
WAMP is one of the better known AMP solutions, however there are alternative AMP packages out there for Windows such as Xampp, Ampps, and Bitnami.
If for any reason you cannot configure WAMP, you may want to give one of these alternatives a try. The process of installing a WordPress website locally on your computer is much the same. You simply need to activate a server on your Windows computer, create a MySQL database, and then install WordPress.
Final Thoughts
A local installation of WordPress on your computer is very useful for development and testing. I have always used a test WordPress website of mine that I host on a subdirectory of a domain I own. This is the best solution for me on most occasions as it allows me to access my test website on any computer and in any location.
However, I can see the benefits from having a WordPress website installed locally. It would be very useful when I do not have access to the internet. For example, when my internet connection goes down or when I have a long flight and I want to be productive and do some work.
During testing, I also noticed that my local WordPress website loaded quicker than my hosted WordPress websites. You would, of course, expect this; as the local installation of WordPress does not need to connect to the internet and download files from a server thousands of miles away. Security is less of a concern on a local WordPress installation too.
Transferring a local WordPress installation to a live website is also painless. All you have to do is upload your files and your database and ensure that the URL settings are correct (that, however, is not something I will cover in this article).
I encourage you to give WAMP a try for yourself and install WordPress on your Windows computer. It should take you ten to fifteen minutes to download the application and set everything up.
If you found this tutorial on installing WordPress locally useful, then I encourage you to subscribe to the Elegant Themes blog. This will ensure you are kept up to date with our latest articles.
If you enjoyed this article, you might also like..


